
A Quick Campfire Guide
Who doesn’t love a good campfire? The calming crackle of the wood, the visually mesmerizing flame, and the welcoming heat can turn any fall night into a relaxing escape. In this article, we’ll cover some campfire basics that every camper should know, along with some fire-building techniques.
Campfire Basics
When building a campfire, materials are more important than technique. Even an old pro will struggle to start a fire if they only have access to wet wood and lack tinder. Before getting to the techniques, let’s discuss the basics of building a campfire.
Start Small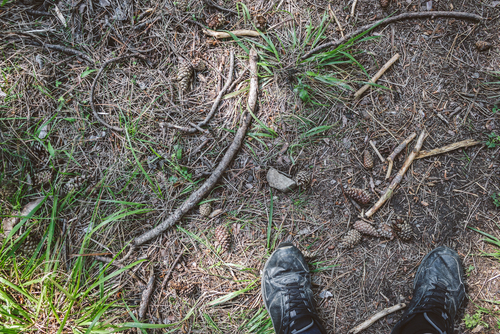
When building a campfire, starting small and letting the fire grow naturally is essential. If you tried to light a hardwood log on fire with a pocket lighter, your lighter would burn out before the log could ignite. Instead, you need to start a small fire using easily combustible materials and build the fire until it is large enough to sustain more dense fuel sources, such as logs of hardwood.
Tinder and kindling refer to materials used as fire starters. Tinder is the most easily combustible but lacks the substance to provide a sustained fuel source, whereas kindling is a bit more substantial but still ignites relatively quickly. We will discuss how to utilize these in the techniques section later on.
You can easily gather tinder and kindling from the forest floor at your campsite. Fallen pine needles that are red in color are great tinder because they contain turpentine, a highly flammable chemical compound that ignites quickly. Dry grass and duff (the partially decayed organic matter covering forest floors) are also good to use for tinder. In the case of wet weather, you can use certain household waste items for a fire starter, such as dryer lint soaked in olive oil or a shredded egg carton. For kindling, dried bark chips and dead twigs work well and are usually easy to find. You can use even small pieces of firewood for kindling. Denser fuel sources, such as dried hardwood logs, can be added as the fire grows.
Use Dry, Dense Fuel
While tinder and kindling are essential for starting a fire, the fire’s final form will depend on the type of wood used as fuel. Most people know that dry wood is preferable over wet wood for fires because water and fire don’t exactly mix. Wood may be wet due to rainy weather or because it has freshly been cut or fallen. Trees, like all plants, carry water and nutrients from the ground to the leaves, and this vasculature takes a while to dry out after the tree has died. Beyond the moisture level of wood, density will also impact its burning qualities. Different types of trees produce different types of wood, categorized broadly as hardwoods and softwoods. Hardwoods are preferable for firewood because they burn longer and hotter than softwoods while producing far less smoke.
Speaking of smoke, have you ever noticed how the smoke seems to follow you around the campfire no matter how many times you switch seats? Unfortunately, we don’t have a tip on how to avoid this, but check out the video below for an explanation of why this happens.
Don’t Bring Wood From Home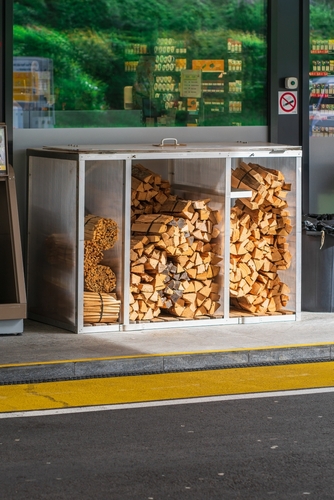
Depending on your campsite, collecting enough dry, hard firewood from the surrounding area may be difficult or even banned. To account for this, it may seem like a good idea to pull a couple of stacks from your firewood stash at home to bring along for the trip. This may seem like a good idea, but it can actually be harmful to the campsite if you won’t be traveling locally. Bringing non-native firewood to a campsite can potentially introduce invasive insects, such as the emerald ash borer or oak wilt, which in turn harm the local ecology. It’s a good idea to bring firewood to your campsite if you plan on a fire, but you should pick it up from a local stand. Most campgrounds have firewood for sale, as well as many gas stations and hardware stores.
Types of Campfires
You could probably start a fire with the right materials without any formal technique in mind. However, these techniques can be beneficial if you plan to cook with fire, in the case of adverse weather conditions such as wind or rain, or simply to impress your fellow campers. Read on for more information on the different types of campfire lays and what they are most useful for.
Teepee Style
The teepee-style campfire lay is a great intro set-up for beginners that is simple but effective. This style is relatively easy to get lit and burns steadily, though quickly. To build a teepee-style fire, you will need to gather some tinder and small to medium wood pieces for kindling.
Start by placing the tinder in the center of the fire pit, then use the small wood pieces to build a cone-like, or teepee, structure over the tinder pile. There should be a bit of spacing between the kindling to allow for airflow and access to light the tinder. Once the kindling is burning, you can add larger wood pieces to sustain the fire. Be careful not to topple the teepee by adding too large of a piece! You can avoid this by adding 2 pieces of new wood at a time, opposite of each other.
The Lean-To
When weather conditions are bad, the lean-to campfire lay is your best bet for getting a fire started in the wind or rain. For a lean-to style, you will need a large piece of wood to act as a shield and some small to medium timber that can be leaned against the large piece to create a shelter. Once the lean-to protective structure is built, set up a mini teepee lay with tinder and small kindling underneath it. You should be able to light the fire more easily and then grow it gradually until it can overcome the wind and rain. With this type of fire in bad weather, you may need more kindling since the fire will take a bit longer to grow.
Log-Cabin
This style starts with a teepee but takes it a few steps further to create a bigger, hotter fire that can burn for hours once started. To build a log cabin, gather what you would for a teepee but grab larger pieces of wood for fuel. Start by setting up a small teepee, then grab the 2 largest pieces of wood you gathered and lay them on opposite sides of the teepee parallel to each other. Next, grab the next 2 largest pieces of wood and stack them on top of the other 2 perpendicularly to form a pound sign (#). Keep adding wood in this manner, stacking closer together as the pieces get smaller until a “roof” has been created. Once the log-cabin structure is built, ignite the teepee inside and provide oxygen until the fire can sustain itself.
Cooking Platform
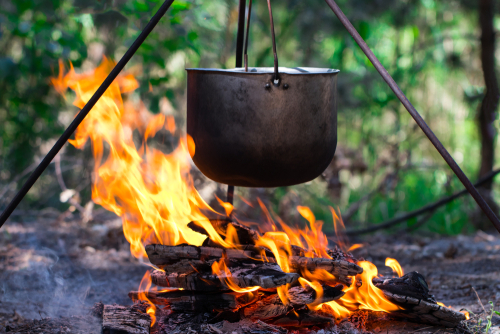
A platform-style campfire lay is an excellent option if you plan to cook over the fire. This style is similar to the log cabin but flipped upside down. This means the teepee will be on the top of the fire instead of the bottom. To build a platform fire, lay 3 of the biggest logs right next to each other in the center of the pit. Then, add 3 more logs on top of the first layer but going in the opposite direction. Keep going until there are three to five layers of logs; the fire shouldn’t be built above your hip height. The set-up is the same as a game of Jenga. Once the platform is complete, build a small teepee on the top and ignite. Be sure to use cooking supplies that are safe to use over an open flame if you’ll be cooking over the campfire; non-stick coating and rubber handles can melt when exposed to open fire.
What’s your favorite time of year for campfires? Do you have your own campfire technique? Let us know in the comments section down below!
Recent Posts
-

Can You Put Regular Furniture in an RV?
Many new and old RV owners ask themselves this question when they feel the need to update th …Apr 25th 2024 -

4 Tips for Securing RV Furniture While Traveling | RecPro
How To Secure RV Furniture There are few things that beat going out on an adventure with an RV …Apr 25th 2024 -

How To Keep RV Furniture From Peeling
Peeling RV Furniture | Why it Peels and How to Stop it Your RV furniture is a point of pride on yo …Apr 25th 2024 -

Turning up the Heat With an RV Fireplace
There’s an unlimited number of cool and exciting features you could add to your recreational vehicle …Apr 25th 2024 -

How To Install An RV Fireplace
A Warm Addition to Your On-Wheels: The DIY RV Fireplace Installation Guide Many RV enthusiasts ask …Apr 25th 2024 -

Are RV Electric Fireplaces Safe
Being Safe in Your RV with an Electric Fireplace Safety is always going to be one of your highest …Apr 25th 2024